User Guide
| Enterprise
RTView®
User Guide |
|
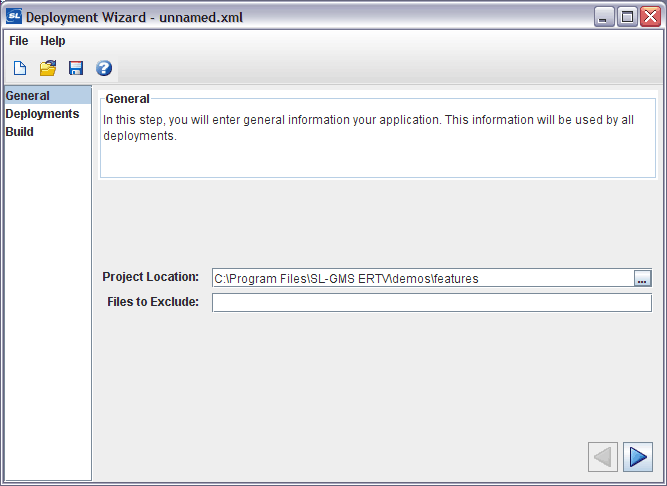
Deployment Wizard The Deployment Wizard will take your RTView application and package it up for deployment. It allows you to define a project, and one or more deployments for that project. The generated deployment files can be copied to the system where you want to deploy RTView. The Deployment Wizard supports Application, Thin Browser Client and Rich Browser Client deployments. See Deployment Options for help selecting the deployment type that will work best for you. Setting up your Project for the Deployment Wizard The Deployment Wizard will help you package up your RTView project for deployment. It has some assumptions on how you have set your project up. The Deployment Wizard assumes that you have already created all of your .rtv files and configuration files. In order to use the Deployment Wizard, you will need to make sure that all of your project files are under a single directory. Some of your project files may in subdirectories of that single directory, but none can be outside of the project directory. Your project files include the following:
If you will be deploying the Display Viewer Applet, an html file that instances the applet must also be in your project directory. The html parameters are different depending on whether or not you will be using the Data Server. See the Applet Configuration section for instructions on how to setup the Display Viewer Applet for direct data connection in your html page. Note that not all data sources support direct connect from the Display Viewer Applet. Refer to the Data Sources section of this documentation to see if deployment with a Direct Data Connection is supported by your data source. If you will be deploying the Display Server and have any custom servlet files, these will also need to be in your project directory. The most common custom servlet file is rtvdisplay.properties configuration file. Follow these instructions for setting up your custom servlet files. You do not need to make the Display Servlet war file as described there. The war file will be generated by the Deployment Wizard. If your deployment will be accessing the Data Sever via HTTP/HTTPS and you have custom servlet files for the Data Servlet, these must also be in your project directory. Typically, the only custom servlet file for the Data Servlet is the servlet.properties configuration file. You do not need to make the Data Servlet war file. The war file will be generated by the Deployment Wizard. If your deployment will be using more than one Data Server, you will need to include multiple DATASERVER.ini files, since each Data Server will run on a different host and/or port. It is recommended that you place the DATASERVER.ini file and any other initialization files for each Data Server instance in a separate subdirectory of the project directory. When you run the Data Server, specify the directory for your initialization files. The Deployment Wizard does not have an option for generating multiple Data Servers in a single deployment, so you should select the Create Separate Archive for Data Server option and install this archive onto each host where you want to run the Data Server. If multiple Data Servlets are needed, create multiple deployments, one for each Data Servlet. On Windows From the Windows Start Menu:
You can also run the Deployment Wizard from a command window as follows: In an initialized
command window:
On UNIX
Command Line Options
Building Deployments Click on the Build All Deployment button in the Build screen to build your deployment(s). The deployment wizard create a directory named deploy under the Project Location directory. The directory will contain a subdirectory for each deployment, named after the deployment name. For example, if your Project Location is c:\myproject, and your deployment is called mydeployment, the files for that deployment will be saved in c:\myproject\deploy\mydeployment. A readme is generated for each deployment that will describe what to do with each generated file. The readme describes where to run the different components of your deployment, but does not describe how to run them. Here are some convenient links for configuring and running the different components: Upgrading Deployments When a new version of RTView is released, you may want to upgrade your deployment to use the new release. To do this, run the Deployment Wizard from your new installation, and open your project. If the Include RTView option is selected for any of your deployments, the new version of RTView will be included when you build those deployments. Redeploy them as described in the readme for each deployment. If you do not have the Include RTView option selected for your deployments, you will need to re-install RTView on the systems where you deployed RTView manually. |
|
|
|
|
|
|
|
|
|
|
|
|
|
|